I absolutely love hiking. I love being outdoors and going on adventures. I also really enjoy having good, high-quality gear for my adventures. But I hate it if there’s a lot of stuff flying around my house! Having a lot of clutter in my living space makes me feel restless. That’s why I try to be mindful of the space around me and only keep items I use regularly in my day-to-day life there. Long story short, I spent a lot of time figuring out how to best store backpacking gear at home and want to share that with you!
Benefits of Properly Storing your Backpacking Gear
There are several benefits to properly storing your backpacking gear:
- If you care well for it, your gear lasts longer and you save (a lot!) of money by not having to replace it every few years.
- Storing your gear properly, means you have more space in your immediate vicinity for the things you use in day-to-day life
- If there’s less clutter in your living space, your mind will be calmer and more focused
- Properly stored gear means you know where everything is and you’re always ready! Gone are the times of delays and searching for stuff when adventure is calling.
Here’s a simple routine to go through after you’ve returned from your adventure:
1. Clean, fix, and replenish your gear
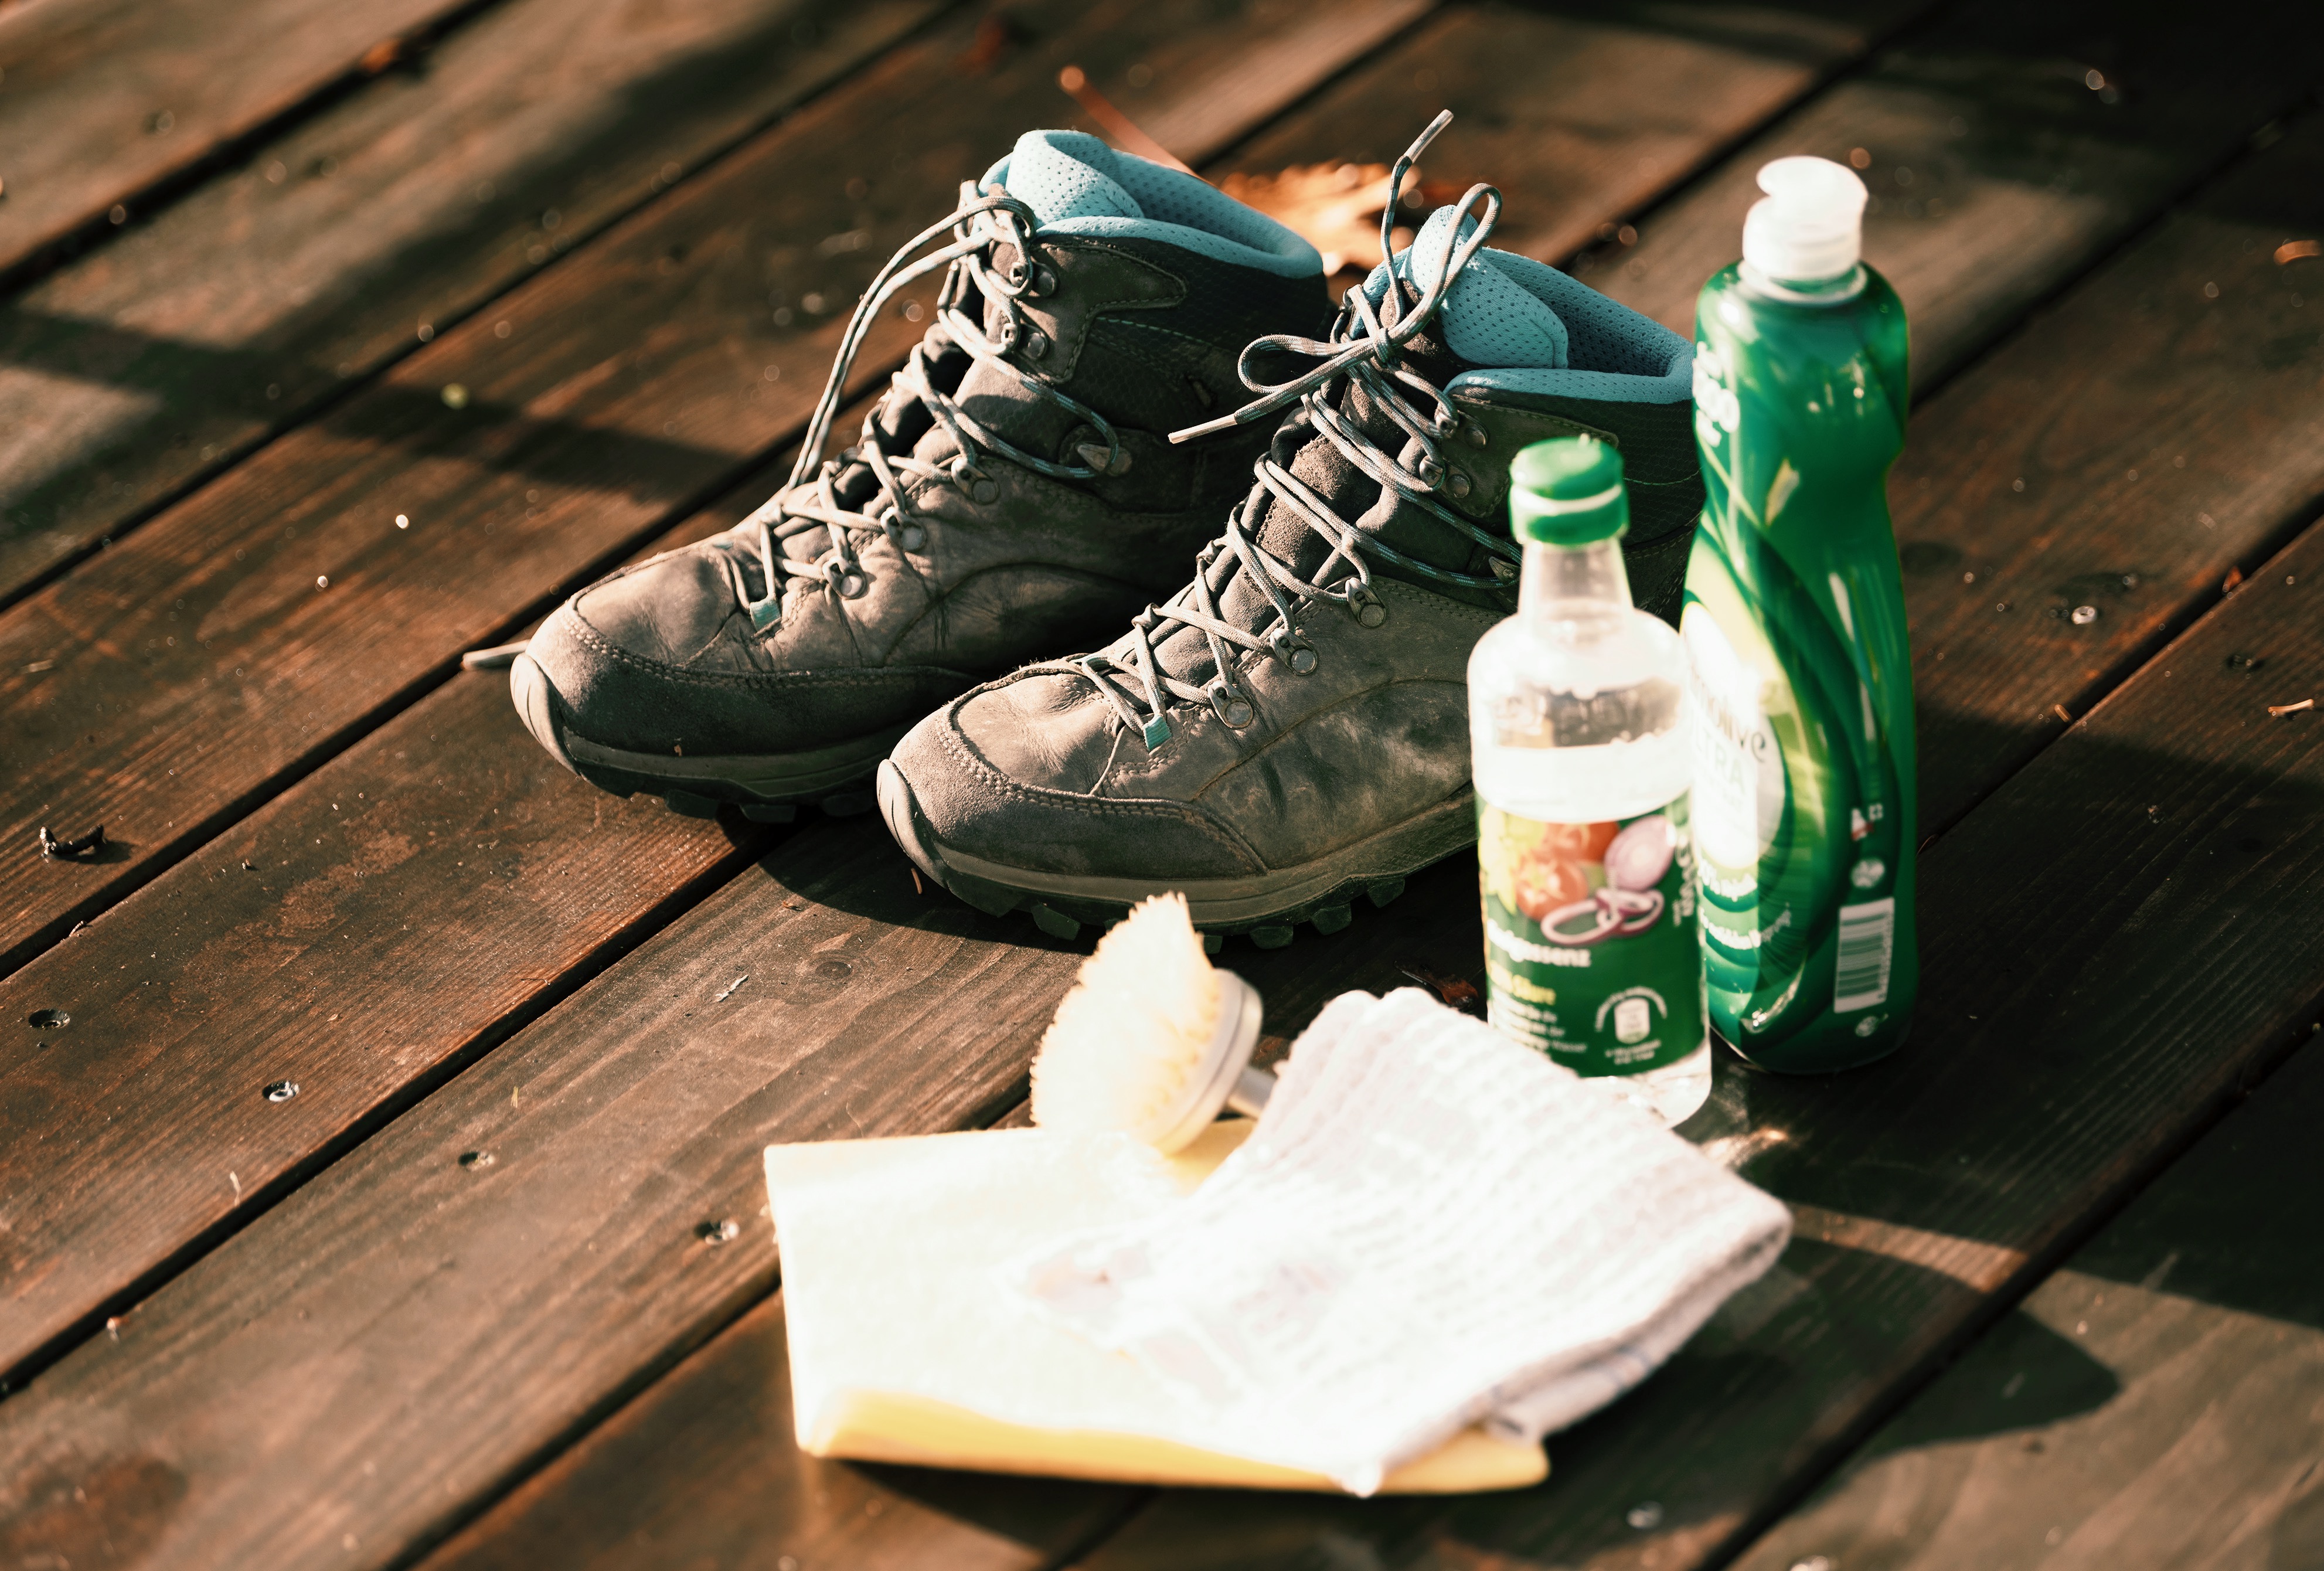
How to clean your backpacking gear
I know this is not the most fun part of an outdoor adventure. But look at it this way: if you clean your equipment right after you used it, you can enjoy it for much longer and you’re free to start daydreaming about your next trip (and get going again) right away!
And to make this a little easier for you, here are 5 hacks to easily clean your backpacking gear.
- Use a soft brush or fabric cloth (I often use old clothes that got holes in them to give them another purpose before throwing them out) to wipe off your gear gently
- Preferably use water only to clean your gear. Some water and a little bit of elbow grease normally go a long way without damaging the coating of professional gear. If there’s some really persistent dirt, use some light, natural soap. But avoid chemical detergents like bleach and all-purpose cleaners by all means. They will damage the surface of your equipment reducing its functionality and longevity.
- Regular kitchen vinegar can help to remove mold. Just use a little bit, though, put it on your cleaning cloth and gently rub over the affected areas. For more persistent mold, fill some vinegar with a little bit of water into a spray bottle, spray the infected area generously, and let it sit for a few minutes. Then just wipe it off. If necessary, repeat. Be careful, though, to not use vinegar on waxed wood, aluminum, or cast iron as it will damage the material.
- It’s very important to air and dry any gear that has been exposed to humidity (which will probably be most of your gear). That means leaving your sleeping bag, tent, backpack, shoes, etc. out to dry for a while before you store them away.
- Once everything has dried out, I’d highly recommend using some professional waterproofing spray for any gear that’s regularly exposed to water, like your hiking boots or pants. This might feel overkill, but it will actually greatly increase the lifespan of your gear.
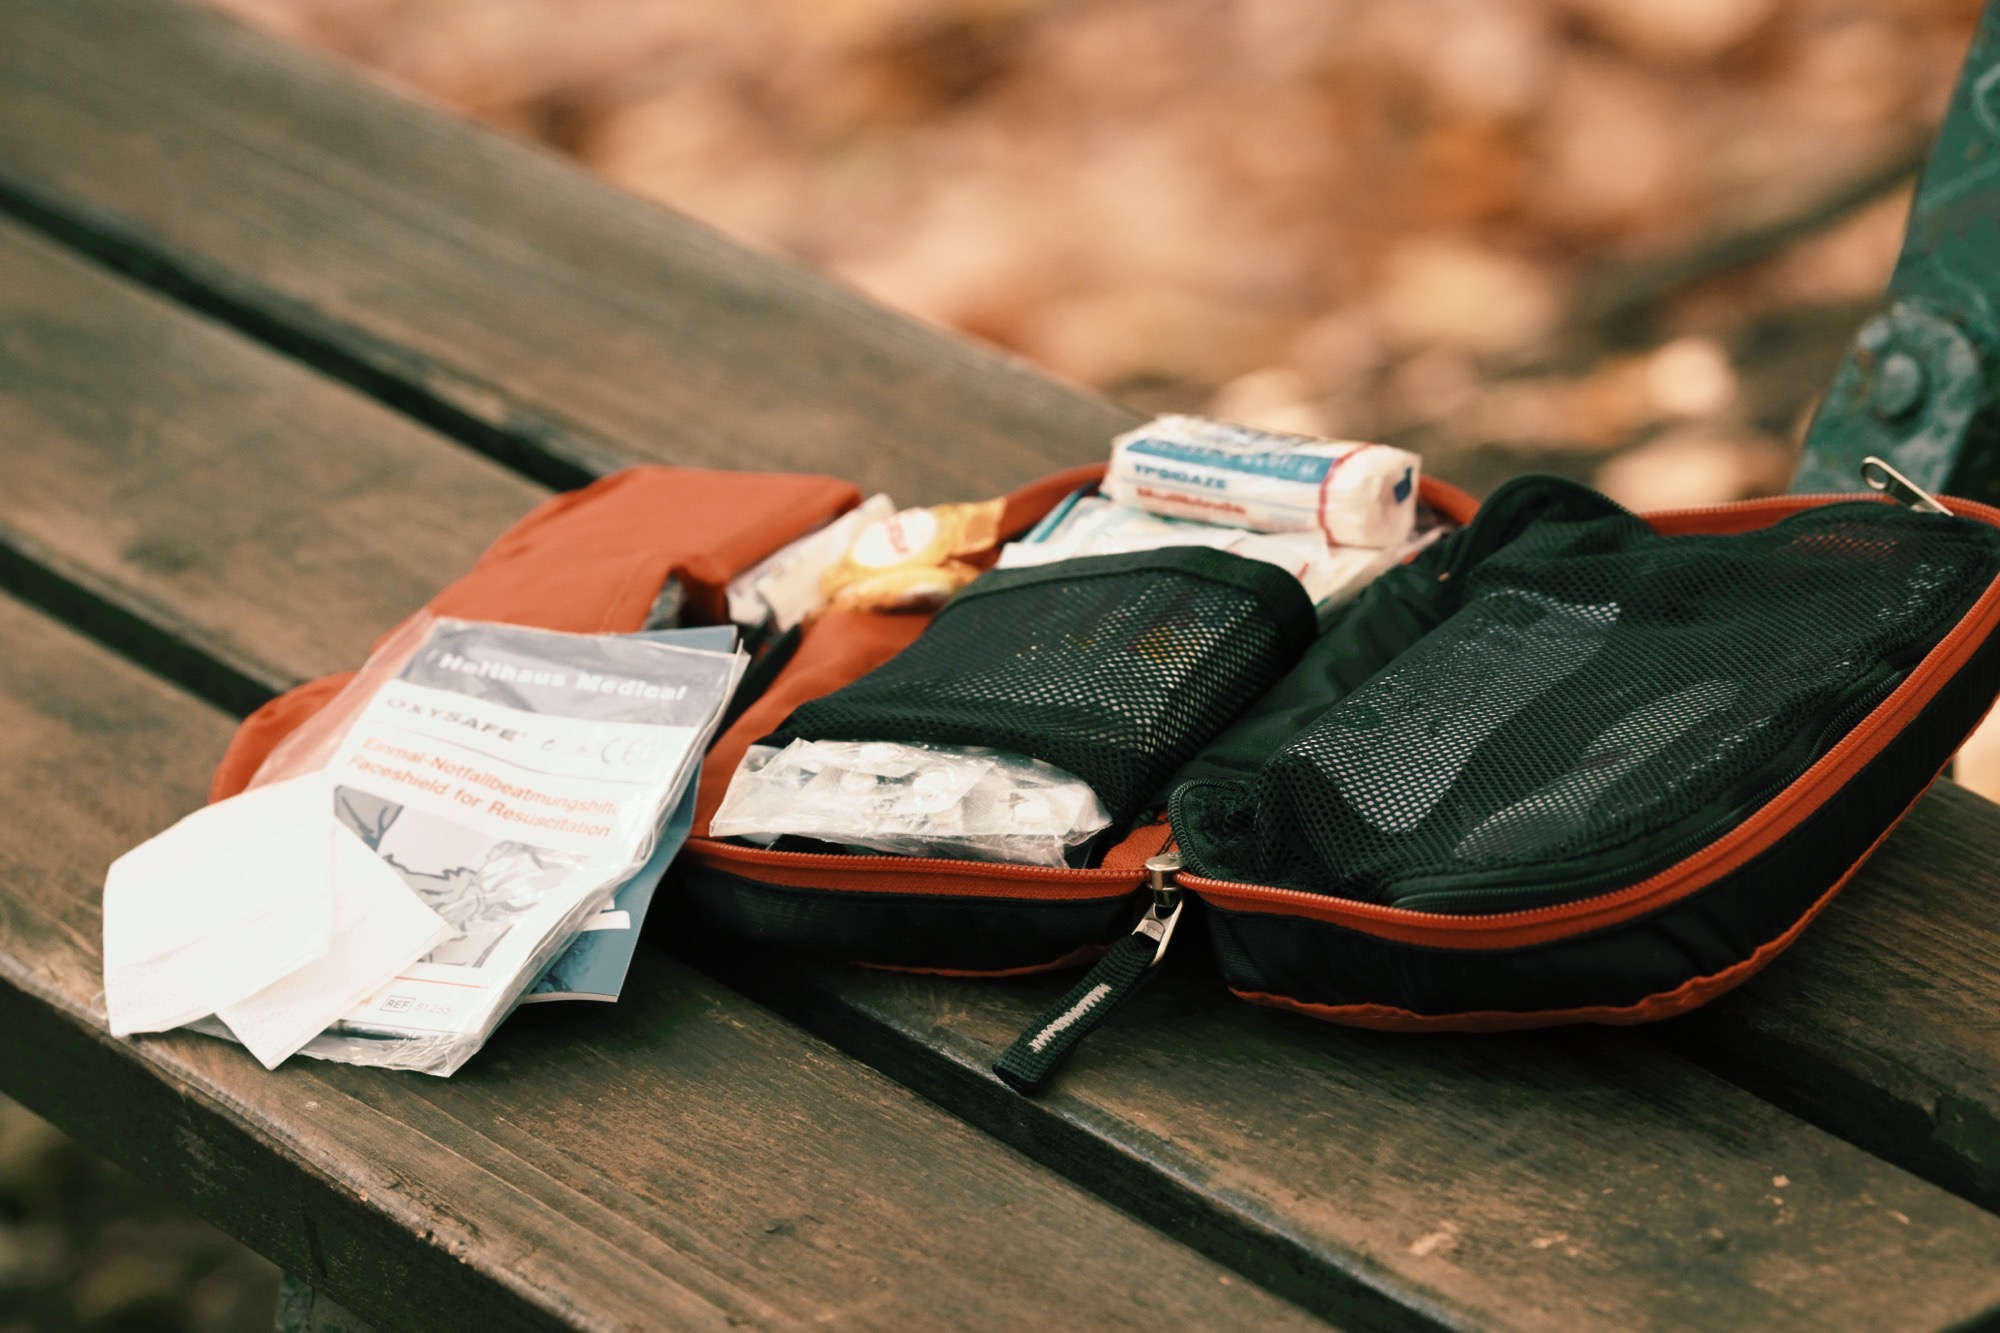
Fix & Replace Your Gear
Now, I don’t know about you, but I regularly fall victim to the trap of “Nah, I’ll just fix that before I use it next time”. And every single time I forget and find that the tent still has this tiny hole in that darn right front corner. Please don’t be like me. Just fix any issues with your gear, no matter how small, right after usage. This is also a good chance for you to replace any broken gear that’s beyond repair.
This also means replenishing toiletries. I have several toiletry kits for different kinds of travel. They’re always packed and ready so that I can pack within minutes when going on a new adventure. To ensure this, I always refill my toiletry kit right after I used it. If you don’t have a toiletry kit for longer hikes ready to go, check out my minimal toiletry packing list for long-distance hiking trails.
One super neat hack I use is to keep a wish list of what gear I’d love to have. After each outdoor adventure, I add anything that I felt was missing on that trip to the list. If this happens 3 times, I buy it. This ensures I only purchase new stuff that I really(!) need.
2. Properly Store Your Hiking Gear
What’s the best place to store your hiking gear?
The best place to store your outdoor gear is a dark, dry, and protected environment. Exposure to moisture and sunlight over an extended period of time can damage certain tools or gear. Good candidates for storage locations are your basement, garage, storage room, or cupboard. That being said, we all live in different spaces and you’ve got to work with whatever you have and make it as suitable as possible. The most important thing is to allocate one specific space for your gear so you always know where it is.
Another important factor, once you’ve chosen your storage space, is to make sure it’s always clean. Before you put your gear back after an adventure, make it a routine to quickly clean the storage space. A quick floor sweep and some dust- or wipe-off of all surfaces should do the trick. This is really important to prevent damage to your expensive gear from moths or mold! If you do it regularly, it’ll be quick and easy every time.
How to best organize your gear storage?
This greatly depends on the location you’re choosing for your gear storage. Here are a few tips for varying spaces:
- For any larger spaces, like a basement or storage room, a multi-shelf rack is extremely helpful. You can easily place storage units on the shelf rather than on top of each other, which makes them much easier to reach and move around.
- In any storage location, you can use pegboards (they come in a huge variety of formats and sizes). They make a great place to hang up tools and gear that’s used quite frequently or is difficult to store. I store my hiking poles lying on two hooks on the top edge of a pegboard.
- I also love, love, love container dollies. They are a great alternative to a multi-shelf rack if you’re limited in space. That’s how my tiny basement is organized. There are 3-4 stacks of euro containers each placed on a container dolly. The fact that they are euro containers is important because their measurements are standardized and you can easily combine different sizes or securely stack them on top of each other. That makes it super easy to move them around, pull out the one I need and put them back.
- Especially for wardrobes or smaller storage rooms, you want to make use of vertical space as well. Placing a clothing rack between the walls near the ceiling allows you to hang stuff high up below the wall. That’s also very useful for drying or airing out equipment like your sleeping bag.
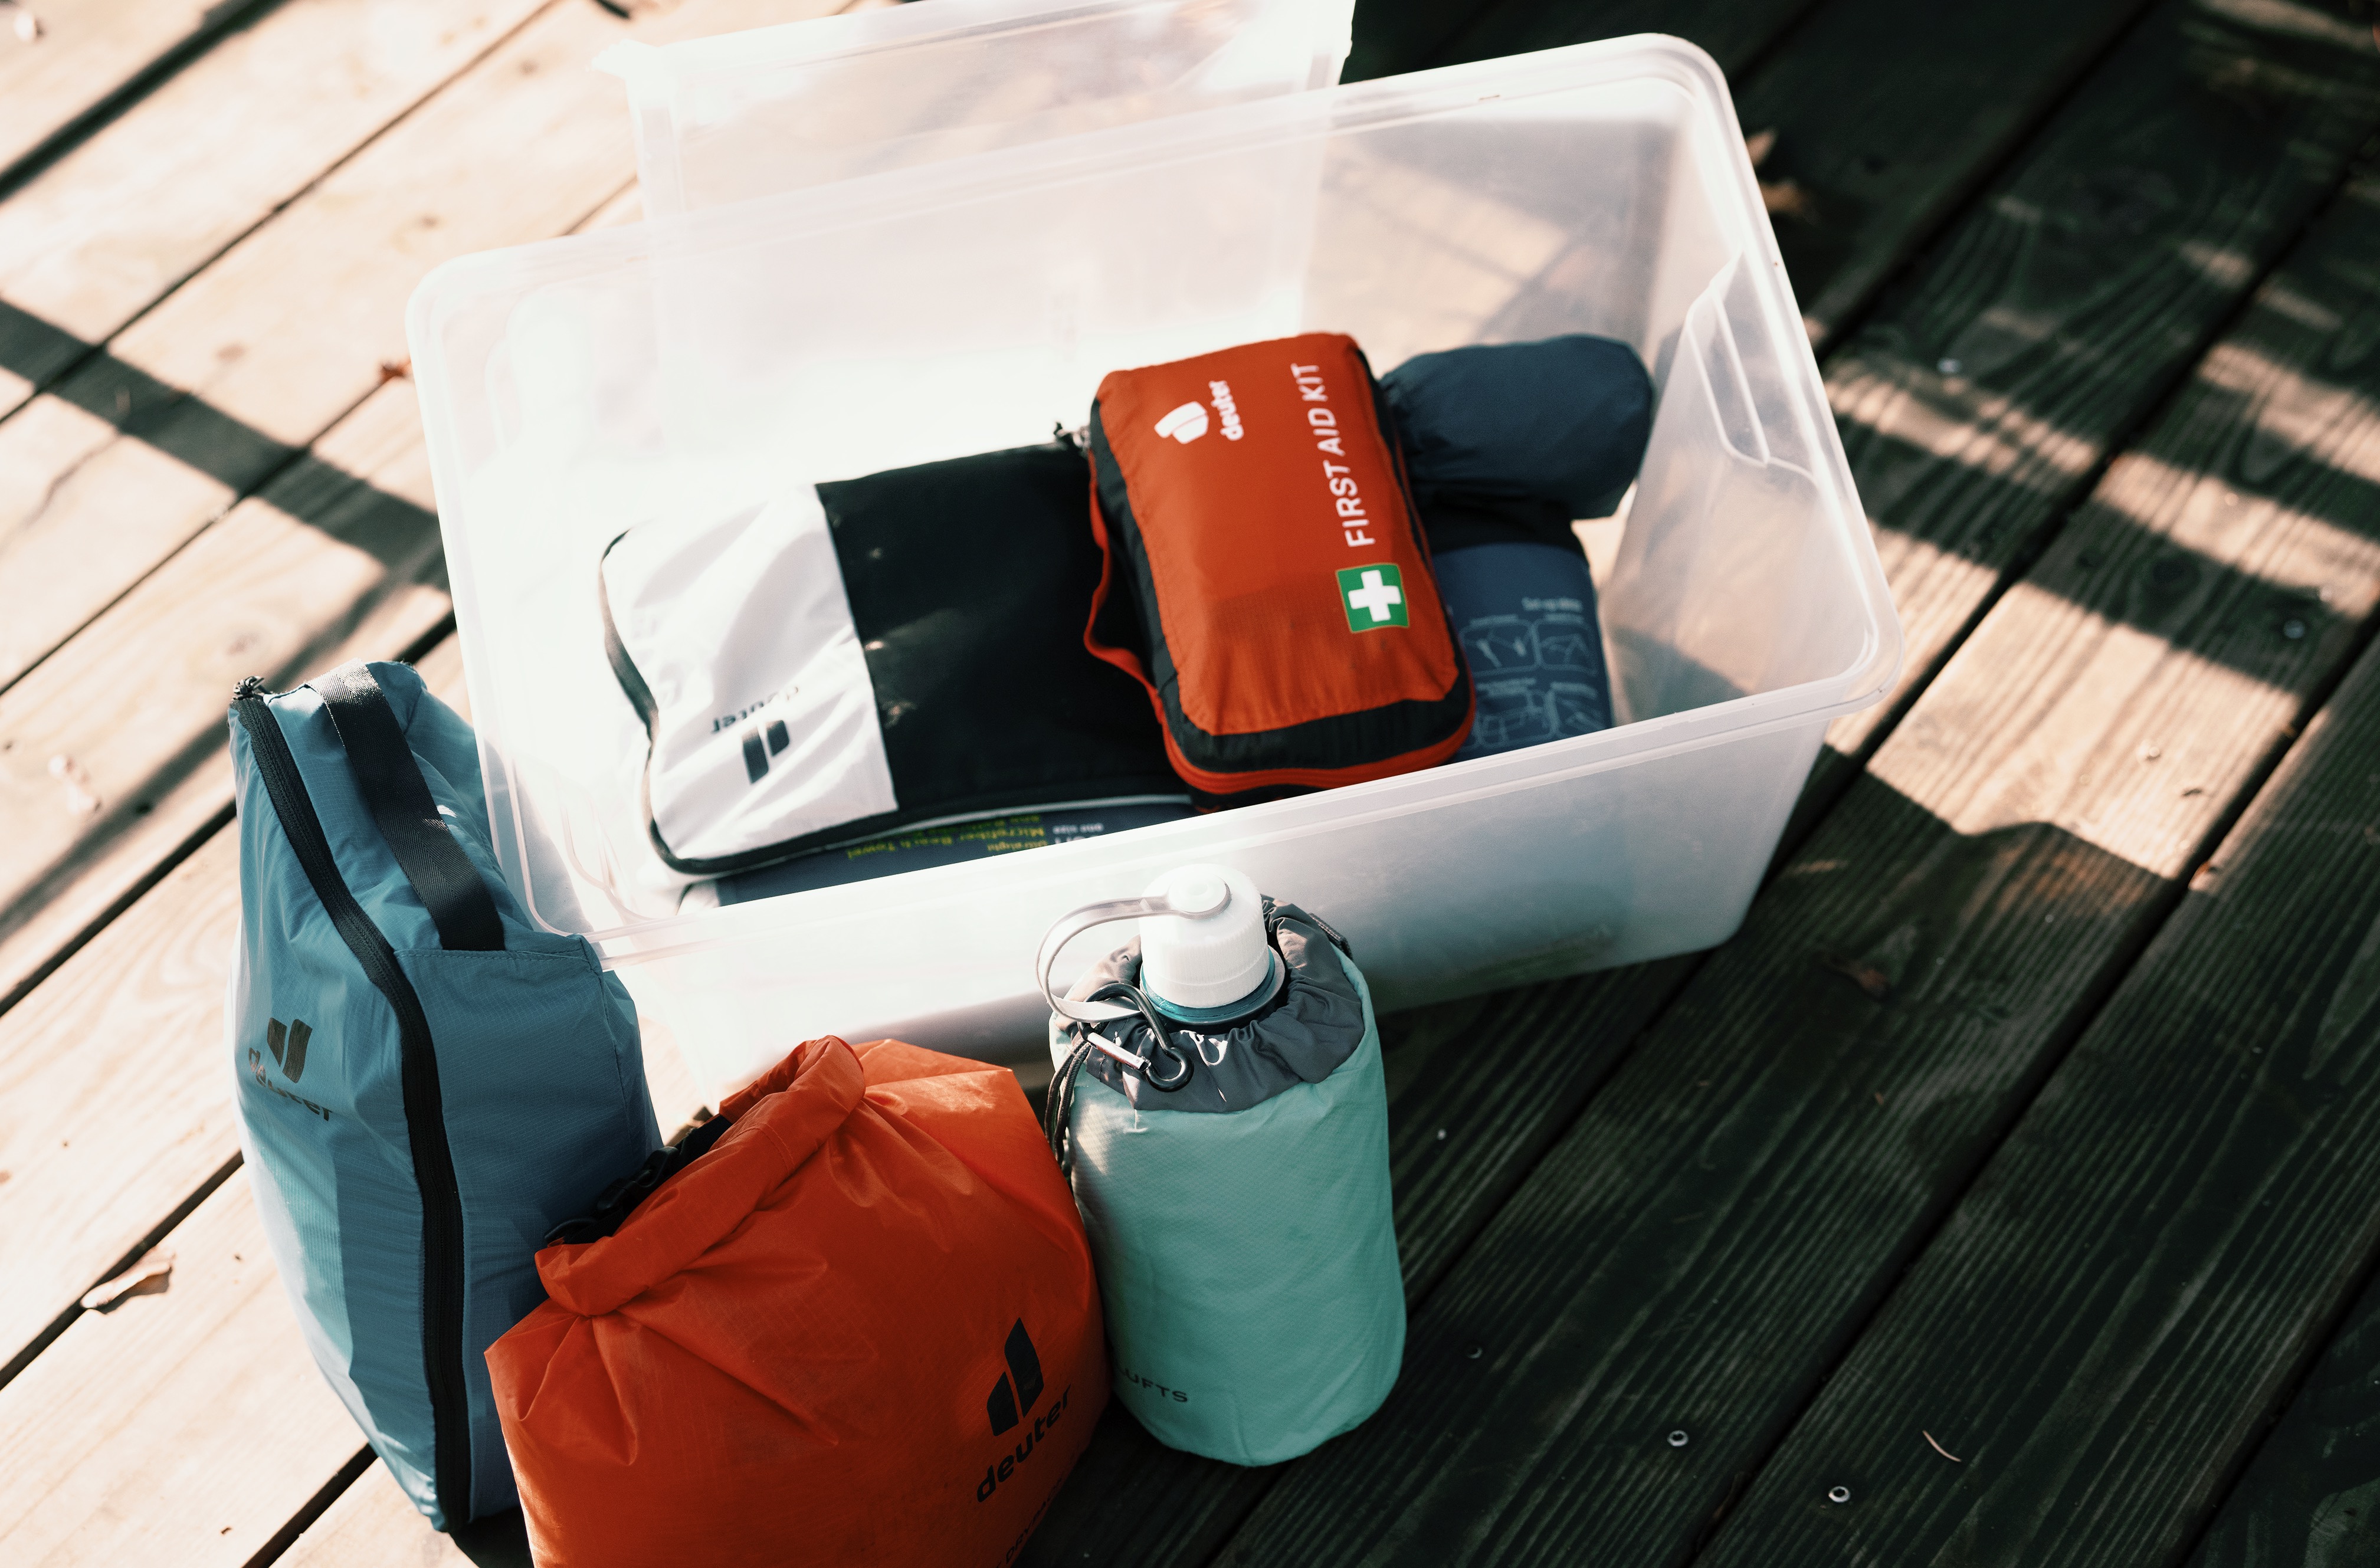
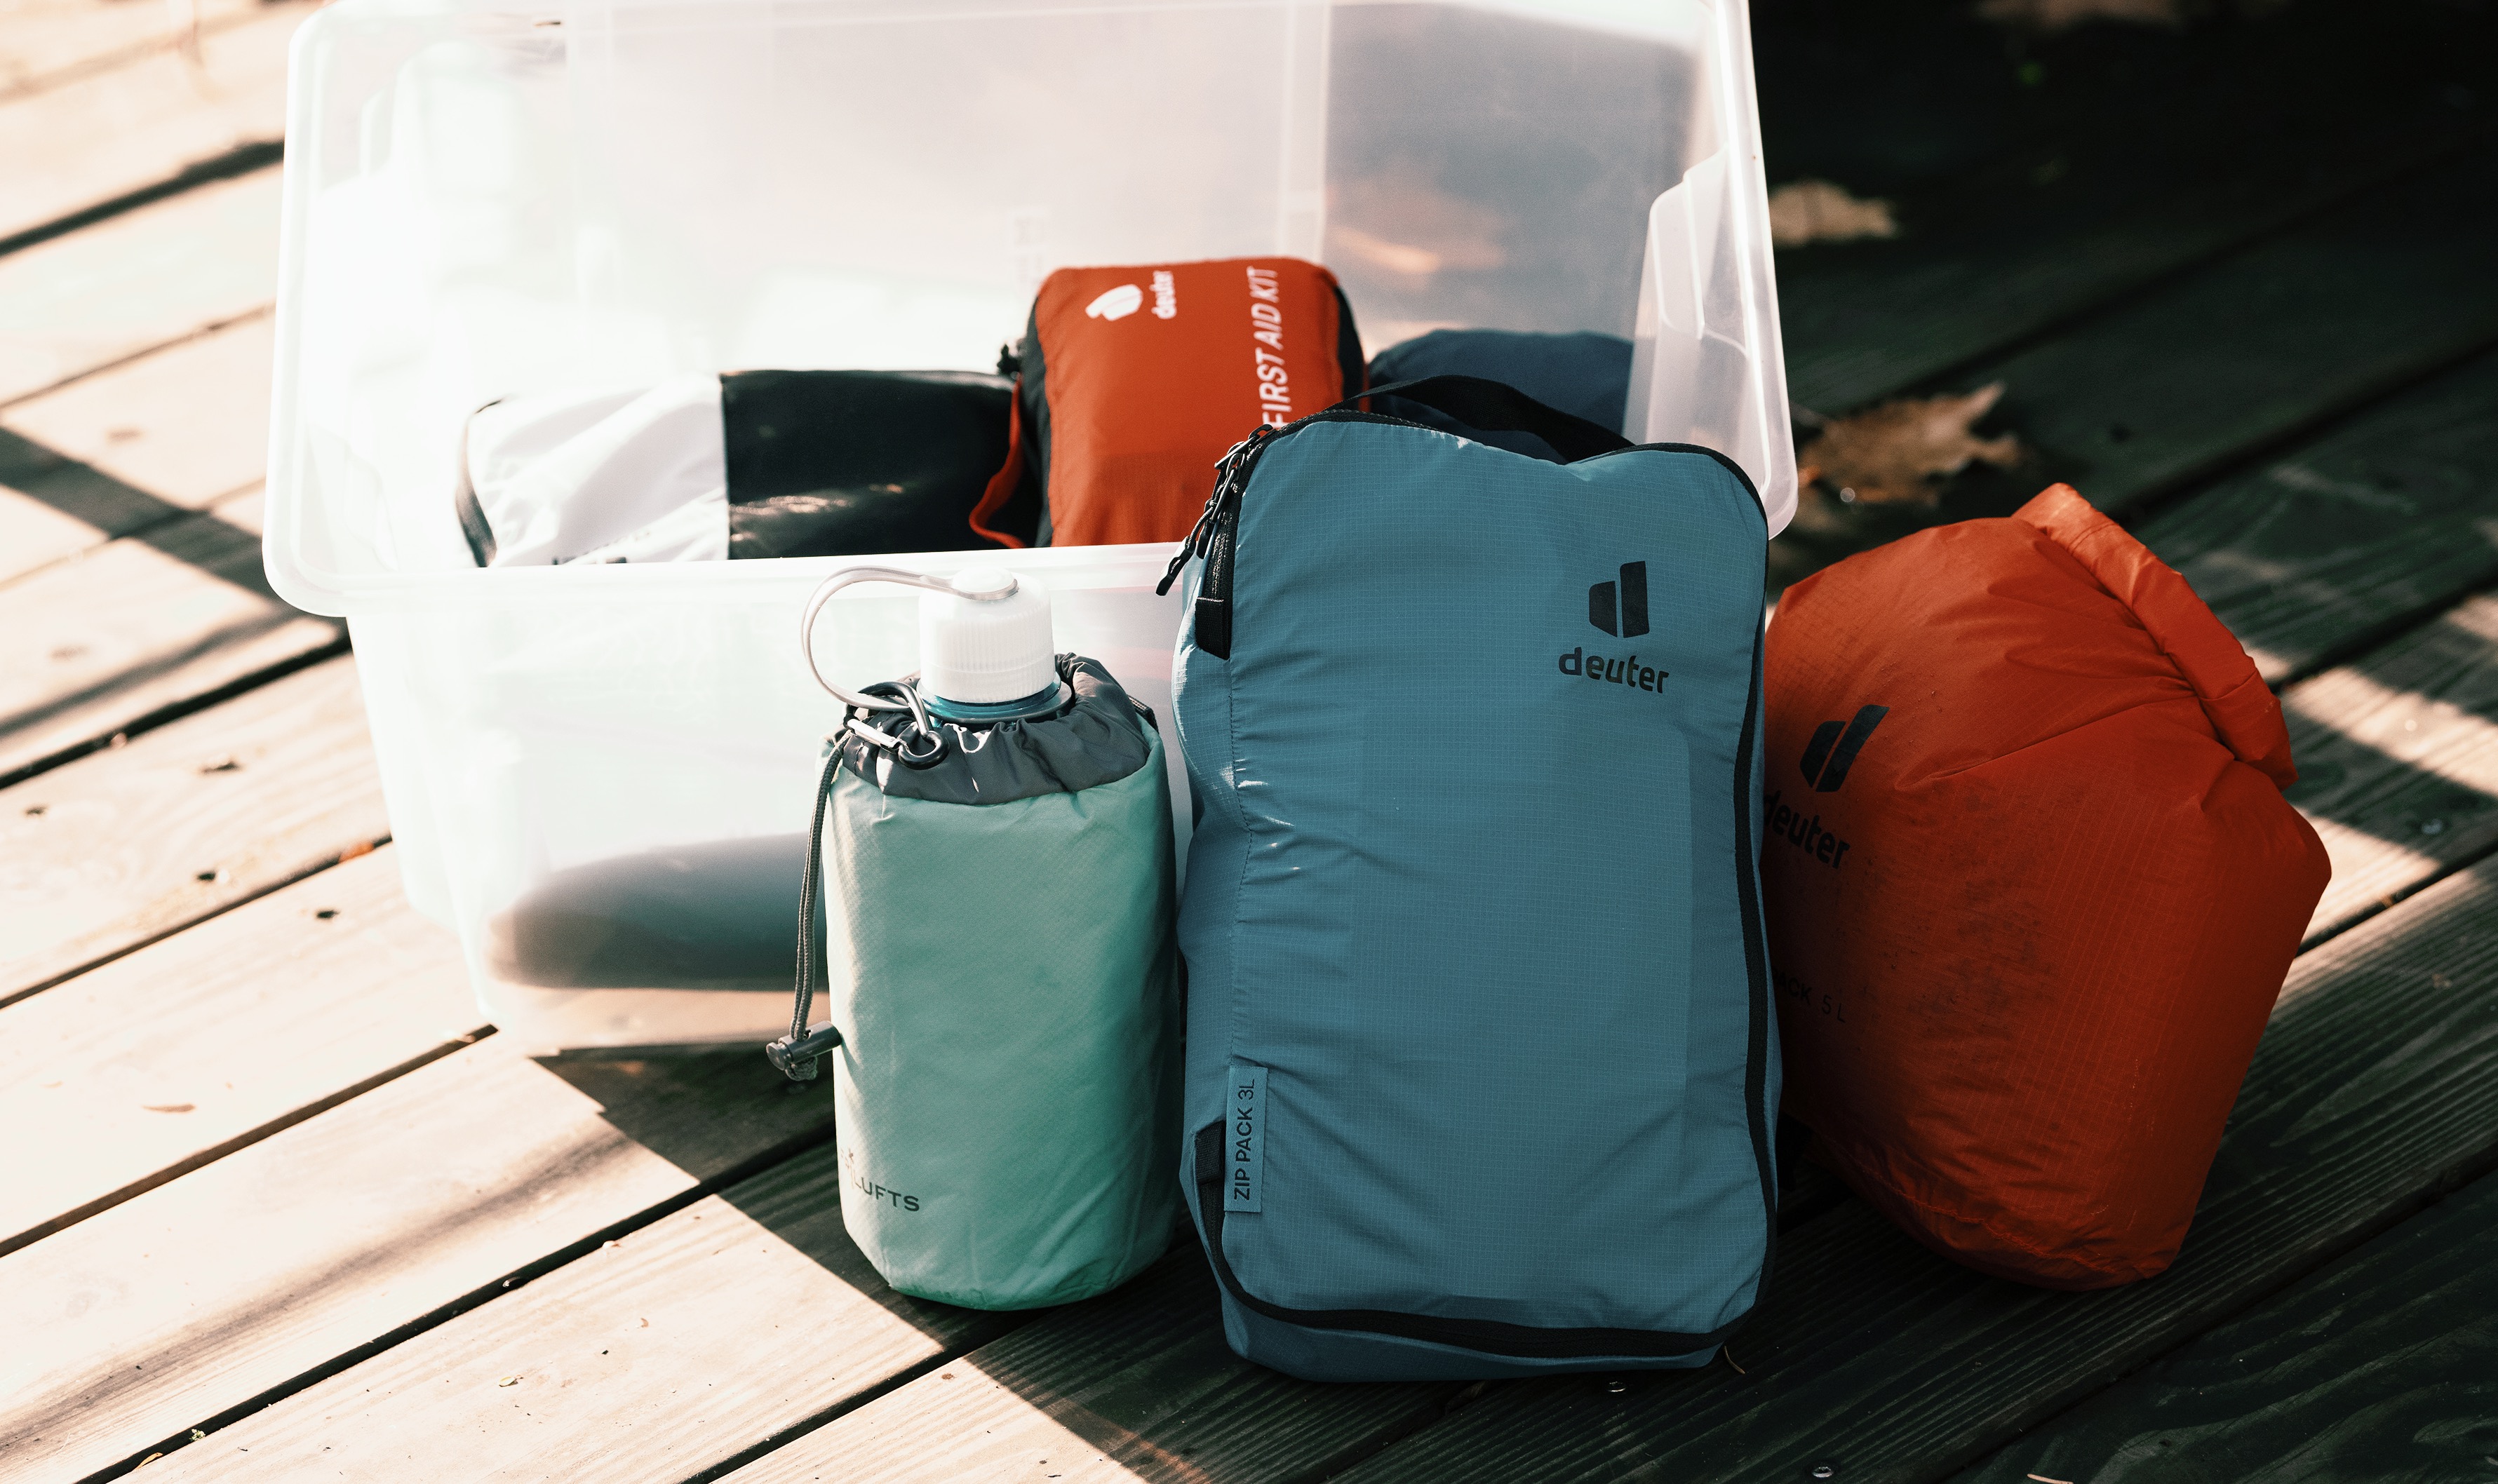
- I can also recommend using clear storage containers (boxes or bins) so you can see what’s inside them.
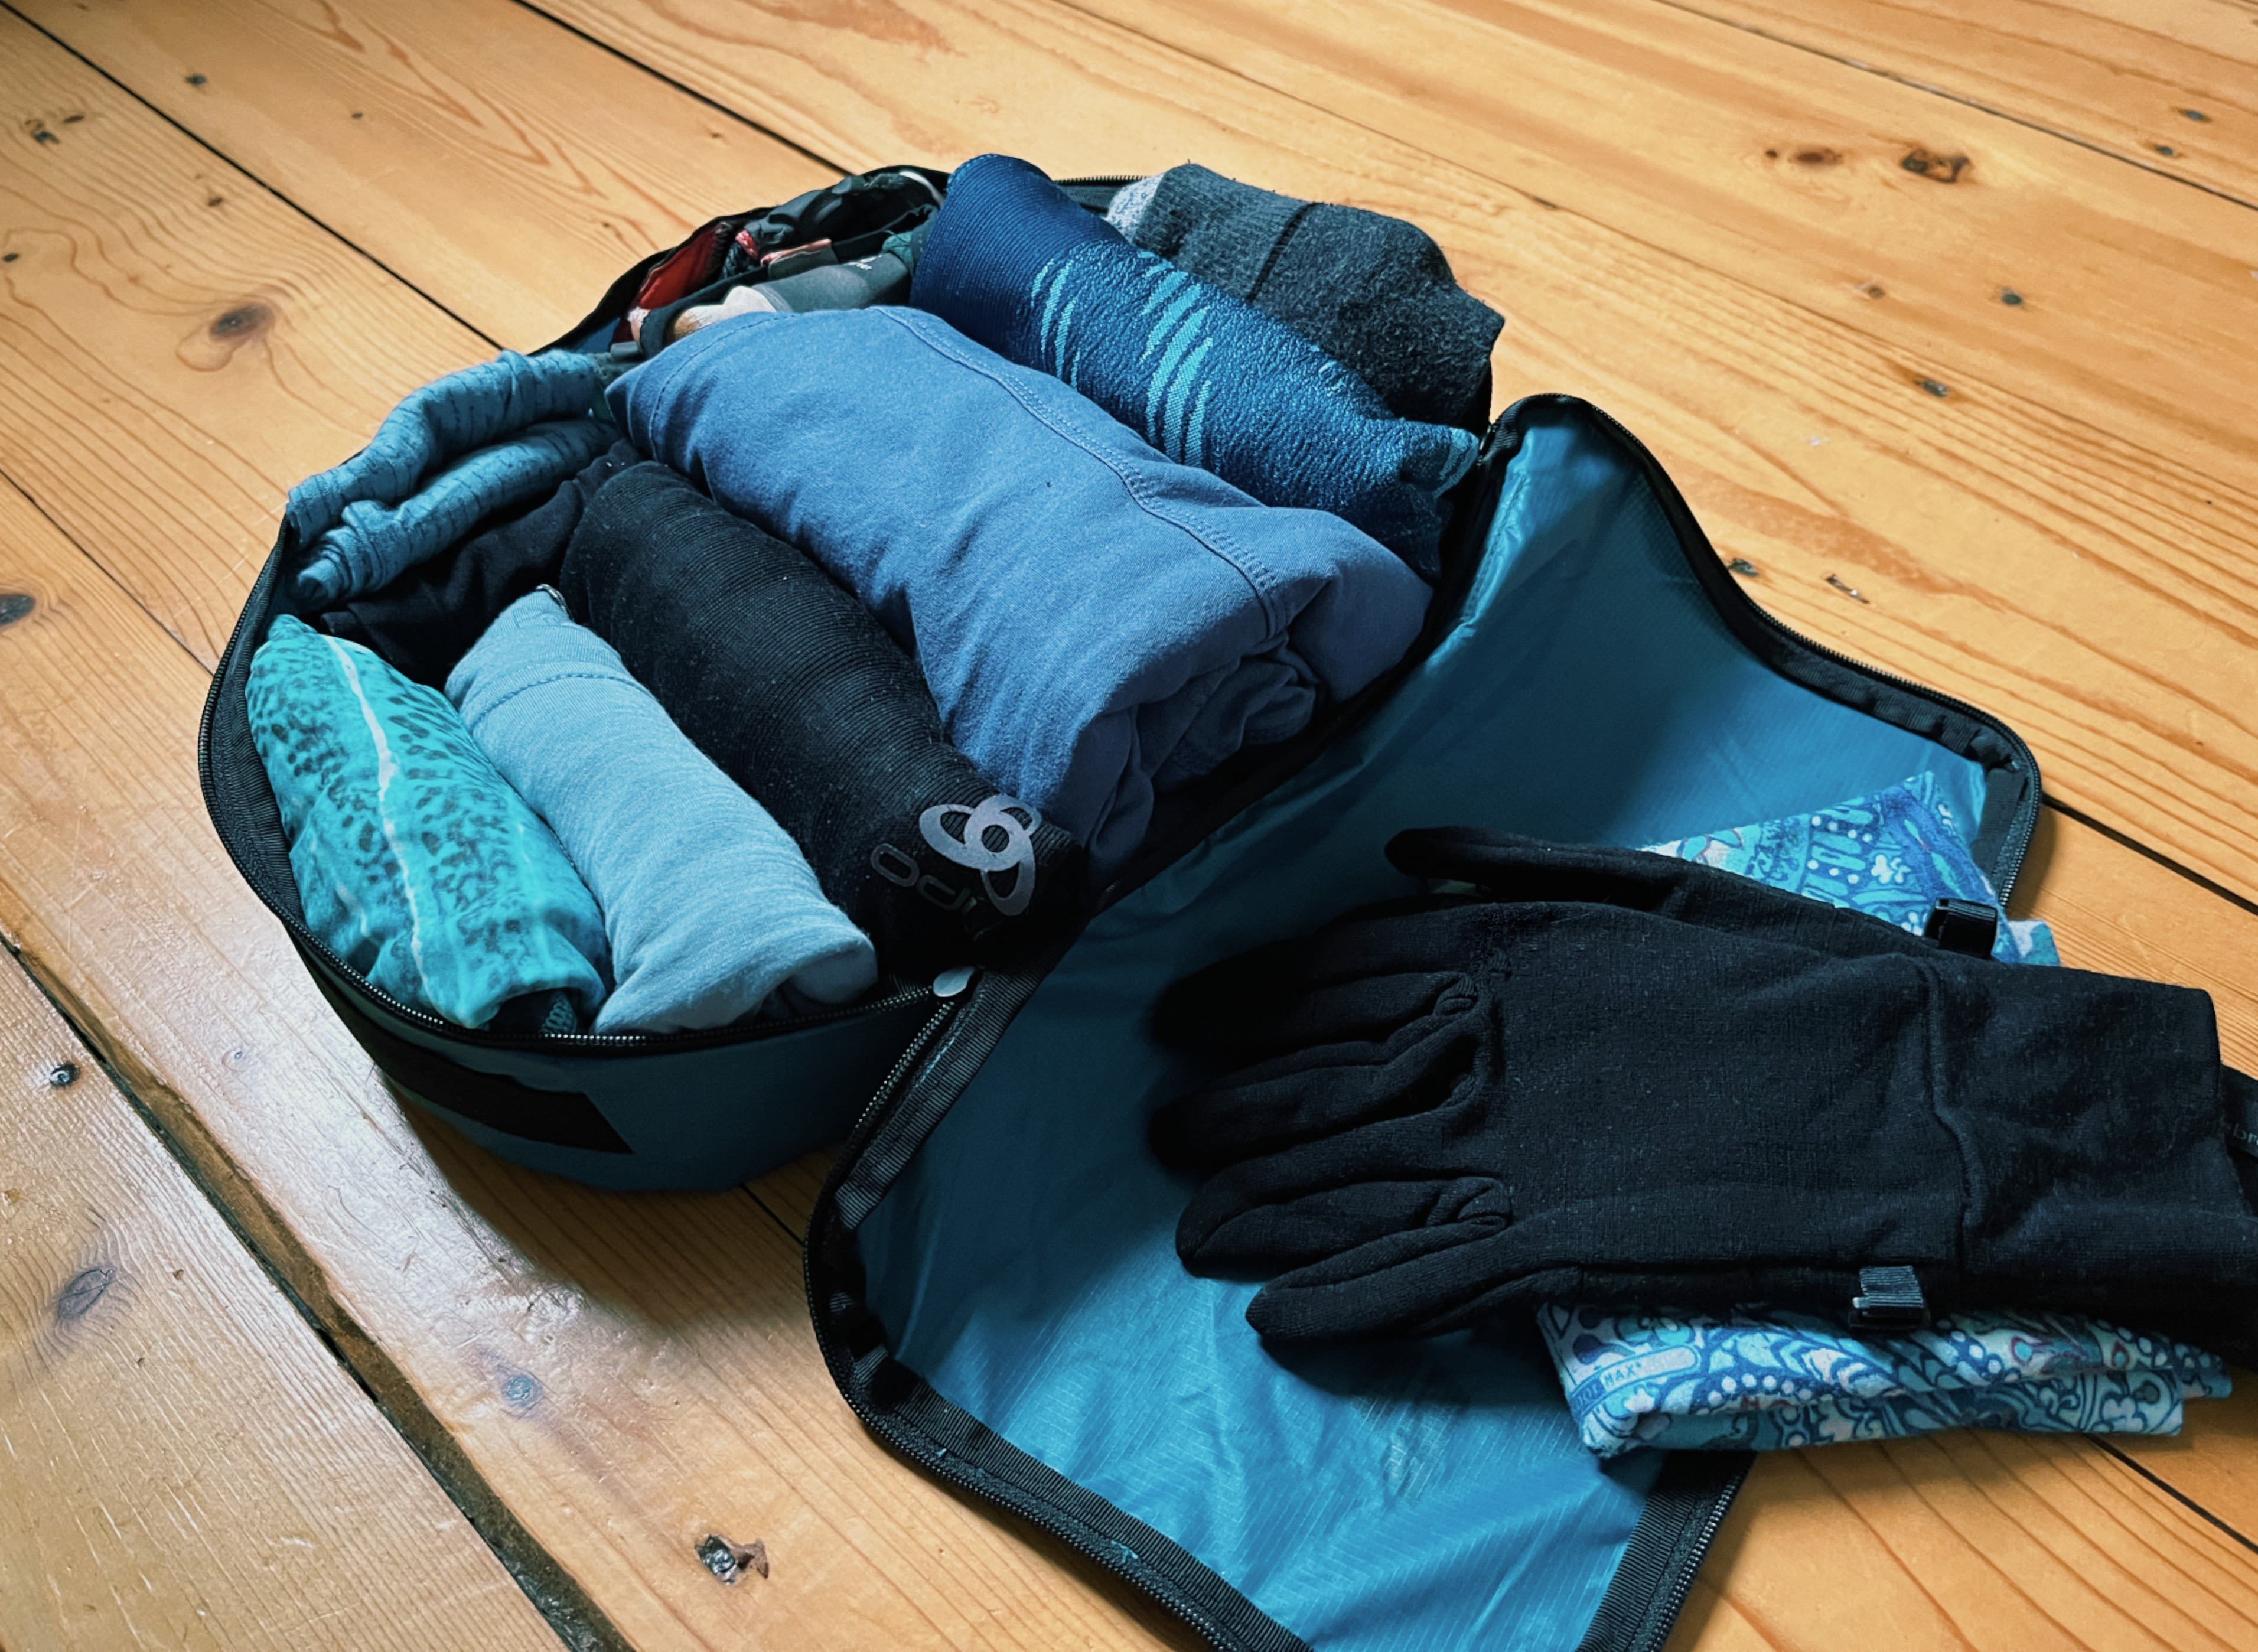
- Another great system is differently colored dry bags. This has the advantage that you don’t need “extra” containers, but you use what you’d normally use on a hike anyways. Packing away your washed and dried hiking clothes in a compressible dry bag saves space and protects them from dust, moths, and moisture.
- Bins can be useful to sort items that are more awkward to store, like hiking poles, a larger, rolled-up tent, golf clubs (which you wouldn’t need for hiking, I guess, but you might own them anyways), etc.
My most important advice here is to put a little bit of upfront effort into thinking about a good storage solution for your outdoor gear that works for your individual needs and situation. It’ll be SO worth it further down the line. Packing and storing your gear will all of a sudden become really exciting because each time you’ll just be so proud of yourself for how amazing your system works (or is that just me being super nerdy? 🤔).
Four Great Methods to Sort Gear
Now that you know where to store your gear, it’s probably important to think about how to sort the gear into storage containers. There are different concepts out there for that:
- by size - this is especially helpful when you have small, confined storage space as it allows you to maximize the space used. It bears the disadvantage that you need to either know where everything is whenever you plan a trip or have a very well-sorted inventory.
- by type of adventure - this is a widely used and loved method as it enables you to easily grab all of the gear you need for a specific adventure like camping, rock climbing, etc. This method bears two risks, though. A) if you need one item for several types of activity, e.g. your fleece jacket or camping cooker, it might move around the boxes and you’ll always need to search for it. B) If you want to avoid trap A, you need to own some items a few times, which leaves you with more stuff.
- by season or weather - this is a good one if you only want to sort gear for one specific activity. Then all your backpacking gear can be sorted by seasonality, which will help you easily grab the right box, depending on the weather.
- by frequency of usage - this is probably the best approach if you want to own as little stuff as possible. The items you only use for certain trips (like your hiking poles or 30L backpack) go together. While the stuff you more frequently use might even go into your closet, like your hiking trousers. The downside here is again, that you need to keep good track of where your stuff is, so you have it readily available when needed.
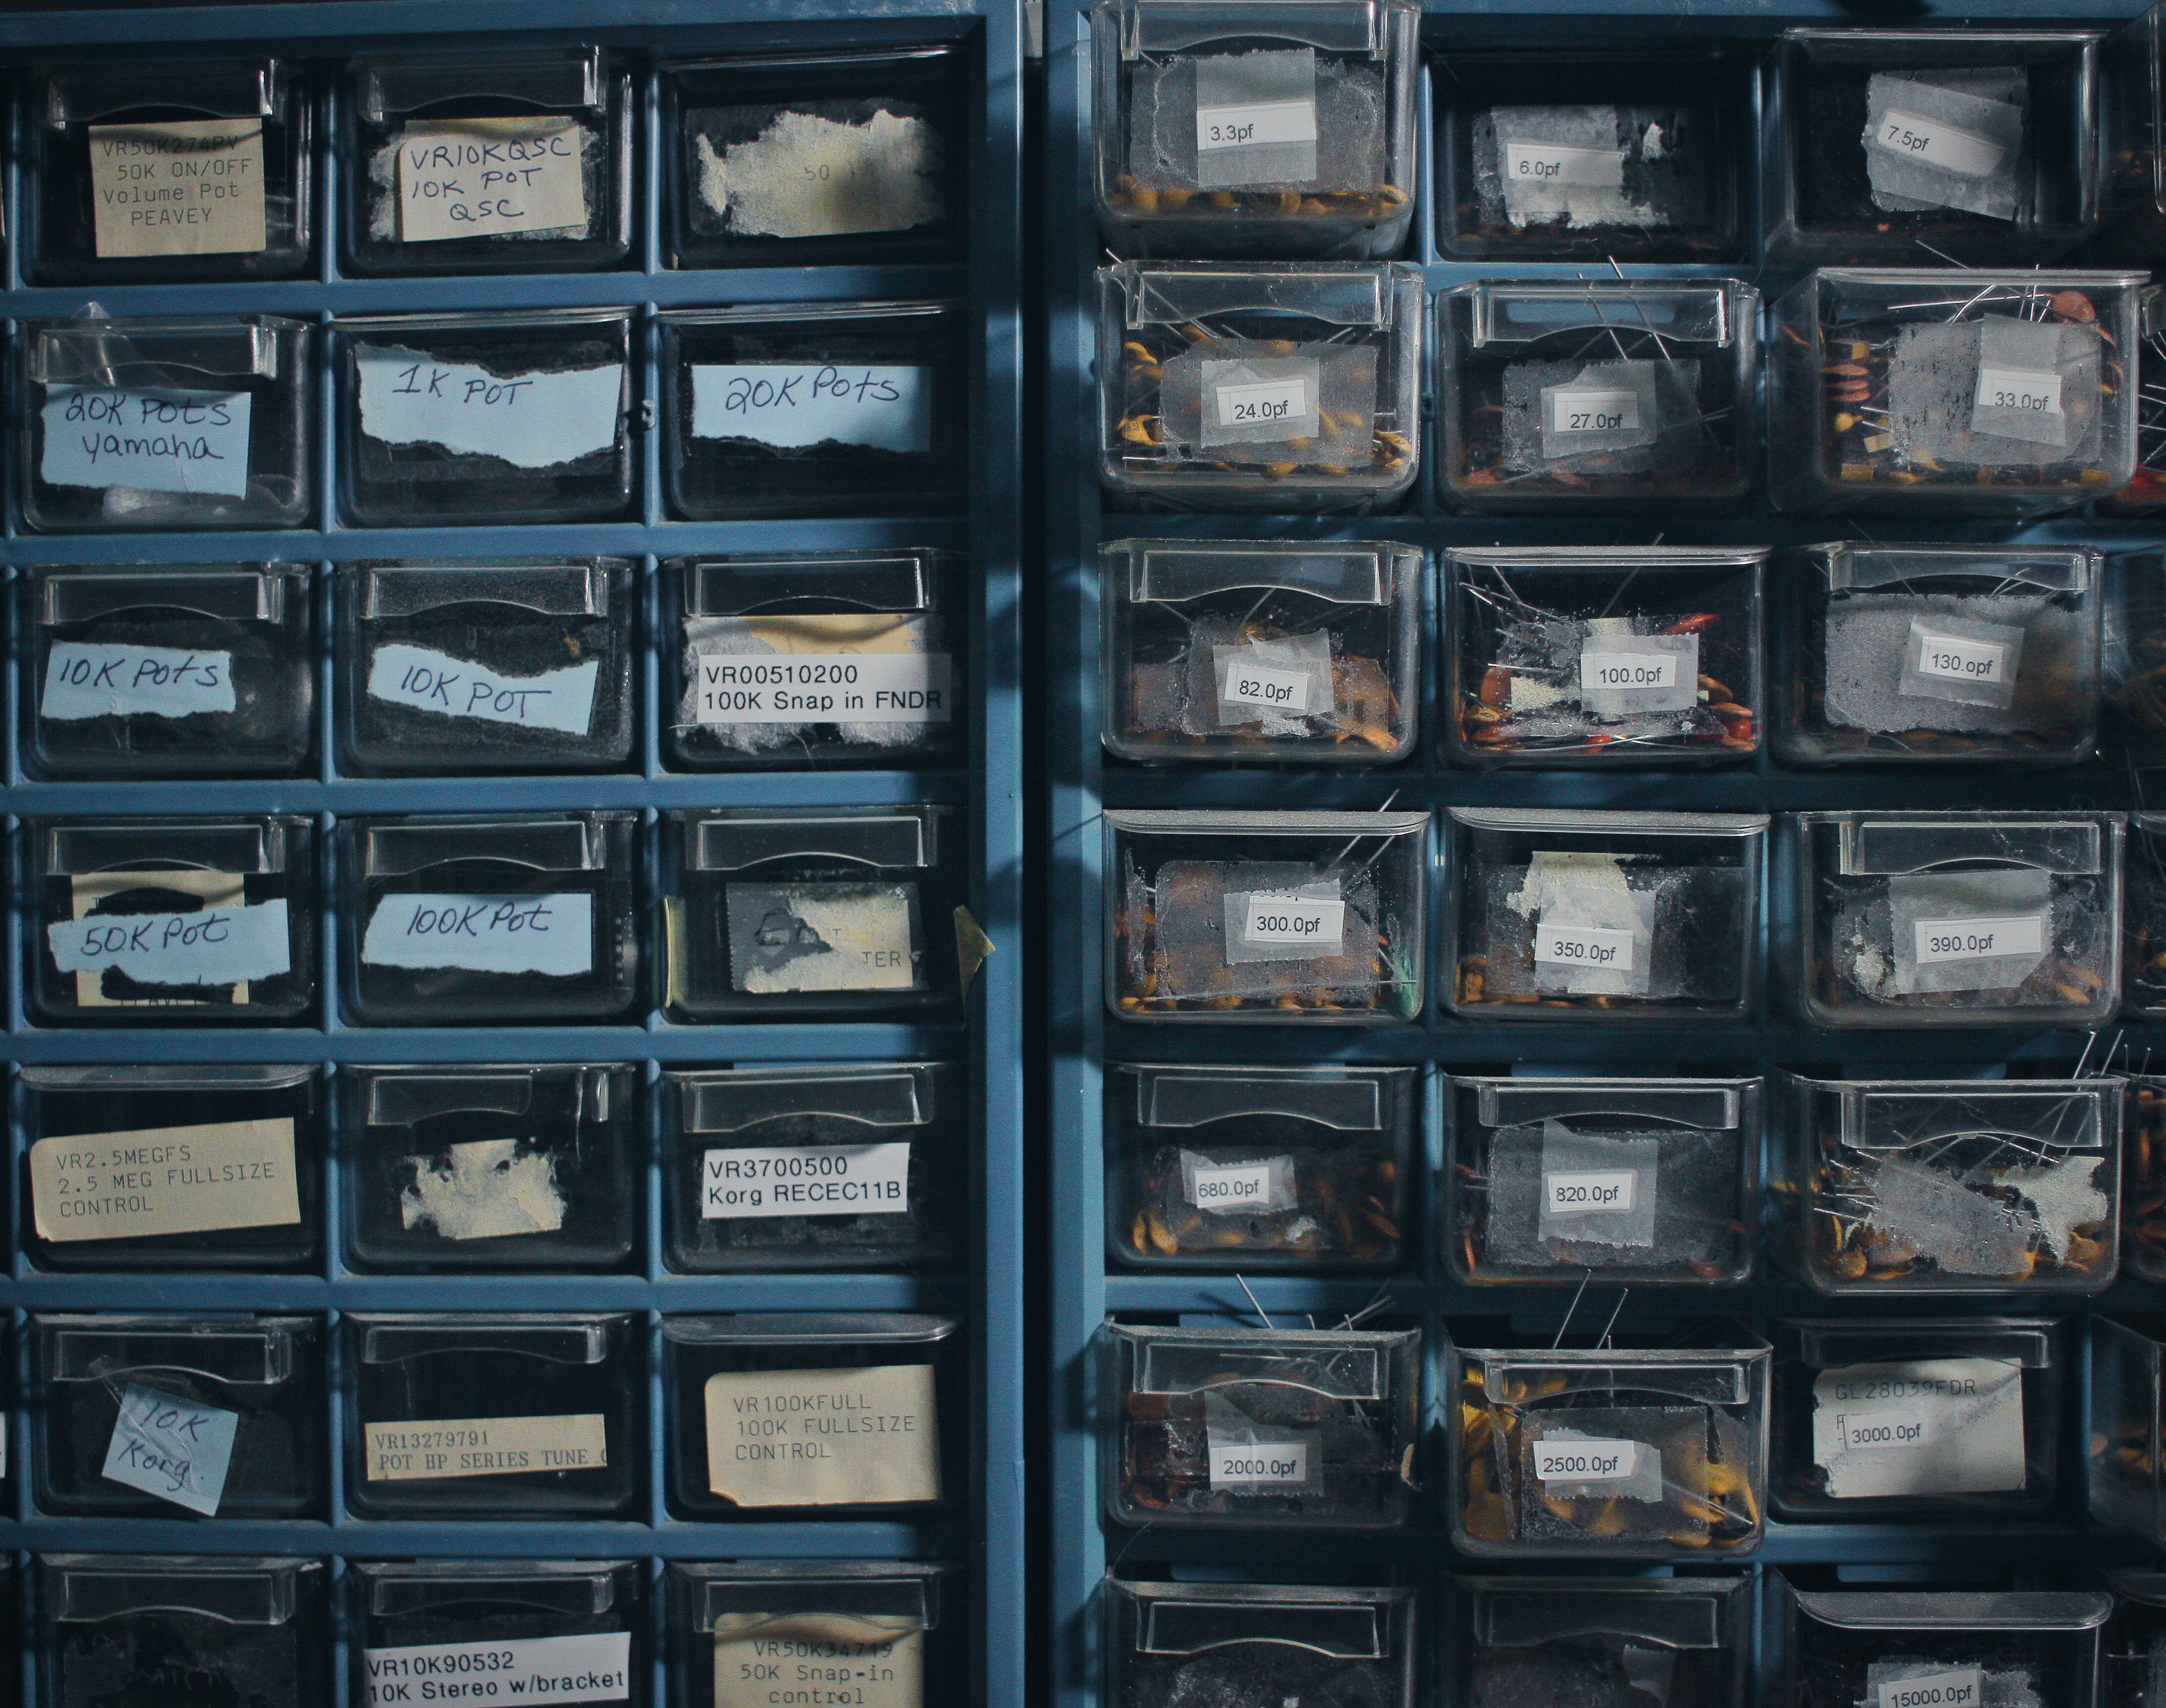
No matter which method you use, the absolutely most important of all times golden rule is: Label everything! Label all boxes clearly and in a way that will also make sense to future you, e.g. “winter hiking gear” or “camping gear for thru-hikes”. If you don’t have clear boxes, also write a list of what’s in the box on a label outside. This way you won’t need to pull out and open every box when you look for something. Ideally, you also catalog your gear or create a list so that you know where everything is. This is amazing because if you do it well, it can also function as your hiking packing list.
Setting Up Your Gear Storage is an Opportunity to Declutter
When you create this system for the first time, this is an excellent opportunity to declutter your gear! Decluttering your gear means creating more space for the items you actually enjoy as well as less hustle organizing stuff you don’t even use. Any items that are broken beyond repair or that you don’t use shouldn’t go into your storage. They will just collect dust and make it harder for you to find and keep track of the items that you do use. If you don’t need it, either sell, donate, or throw it out.
How to store different hiking gear items?
Keep in mind different items need different ways of storing. Here are a few tips and tricks on storing some very common backpacking gear items.
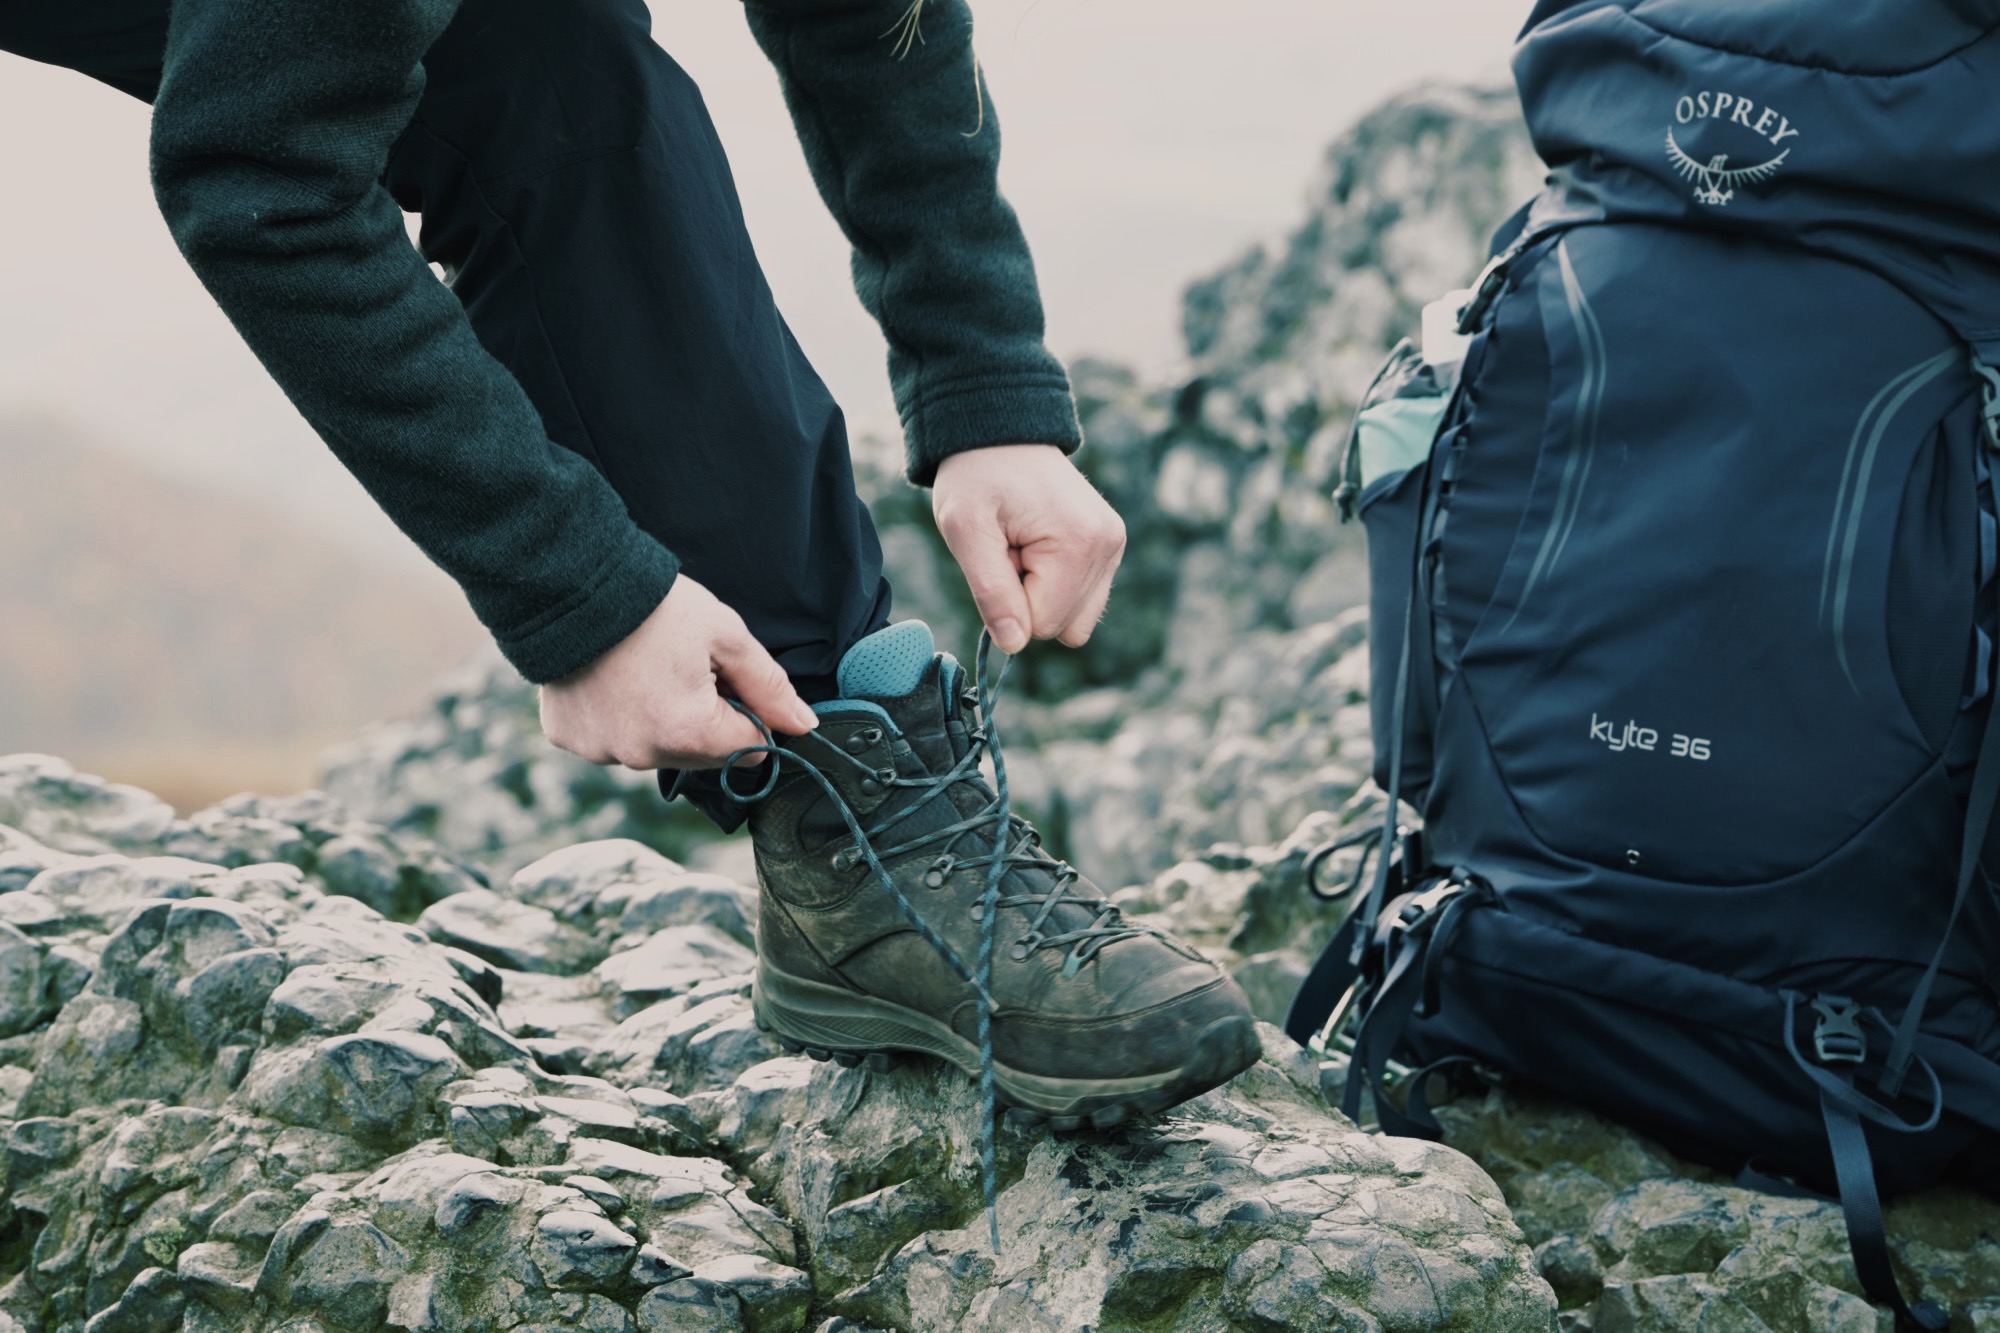
Hiking Boots
- After every use, give them some time to air out properly and in a dry environment.
- Lightly brush off any major dirt and then wipe your boots off with a damp cloth. After they have dried, use some professional water-repellent spray to keep them functioning well for years to come.
- If they got really wet, make sure they can dry slowly, and don’t set them in the sun or right in front of a radiator. A good method is to crumple up some old newspaper and stuff them with it. Exchange it after a day.
- Another good trick is to sprinkle some bicarb soda in your boots. This helps to absorb any smells. You can simply tip out the soda after a day or so.
Tents
- No matter if it rained on your trip or not, make sure to let your tent dry thoroughly dry after every adventure.
- If it’s been in use for a while, I’d recommend giving it a light coat with some professional water-repellent spray
- Don’t tightly fold your tent but rather roll it up loosely. This will put less stress on the material.
- When storing, make sure air can still ventilate around the tent (no airtight packaging). This will prevent any mold to form.
Sleeping bags
- Your sleeping bag also needs proper airing out after every usage.
- Don’t stuff your sleeping bag into its small packsack when in storage. Especially if it’s filled with down feathers, which will harm the structure of the down and reduce its fluffiness.
- You can very well hang your sleeping bag in a closet for storage. Just make sure to protect it against moths with some natural moth repellants like lavender or cedar wood.
- Just like for your tent, no airtight packaging for your sleeping bag. It needs some ventilating air.
Clothes
- Wash and (thoroughly!) dry your backpacking clothes.
- Once they’re properly dry, you can pack them away in a waterproof pack-sack. This way, they’ll already be packed for your next adventure!
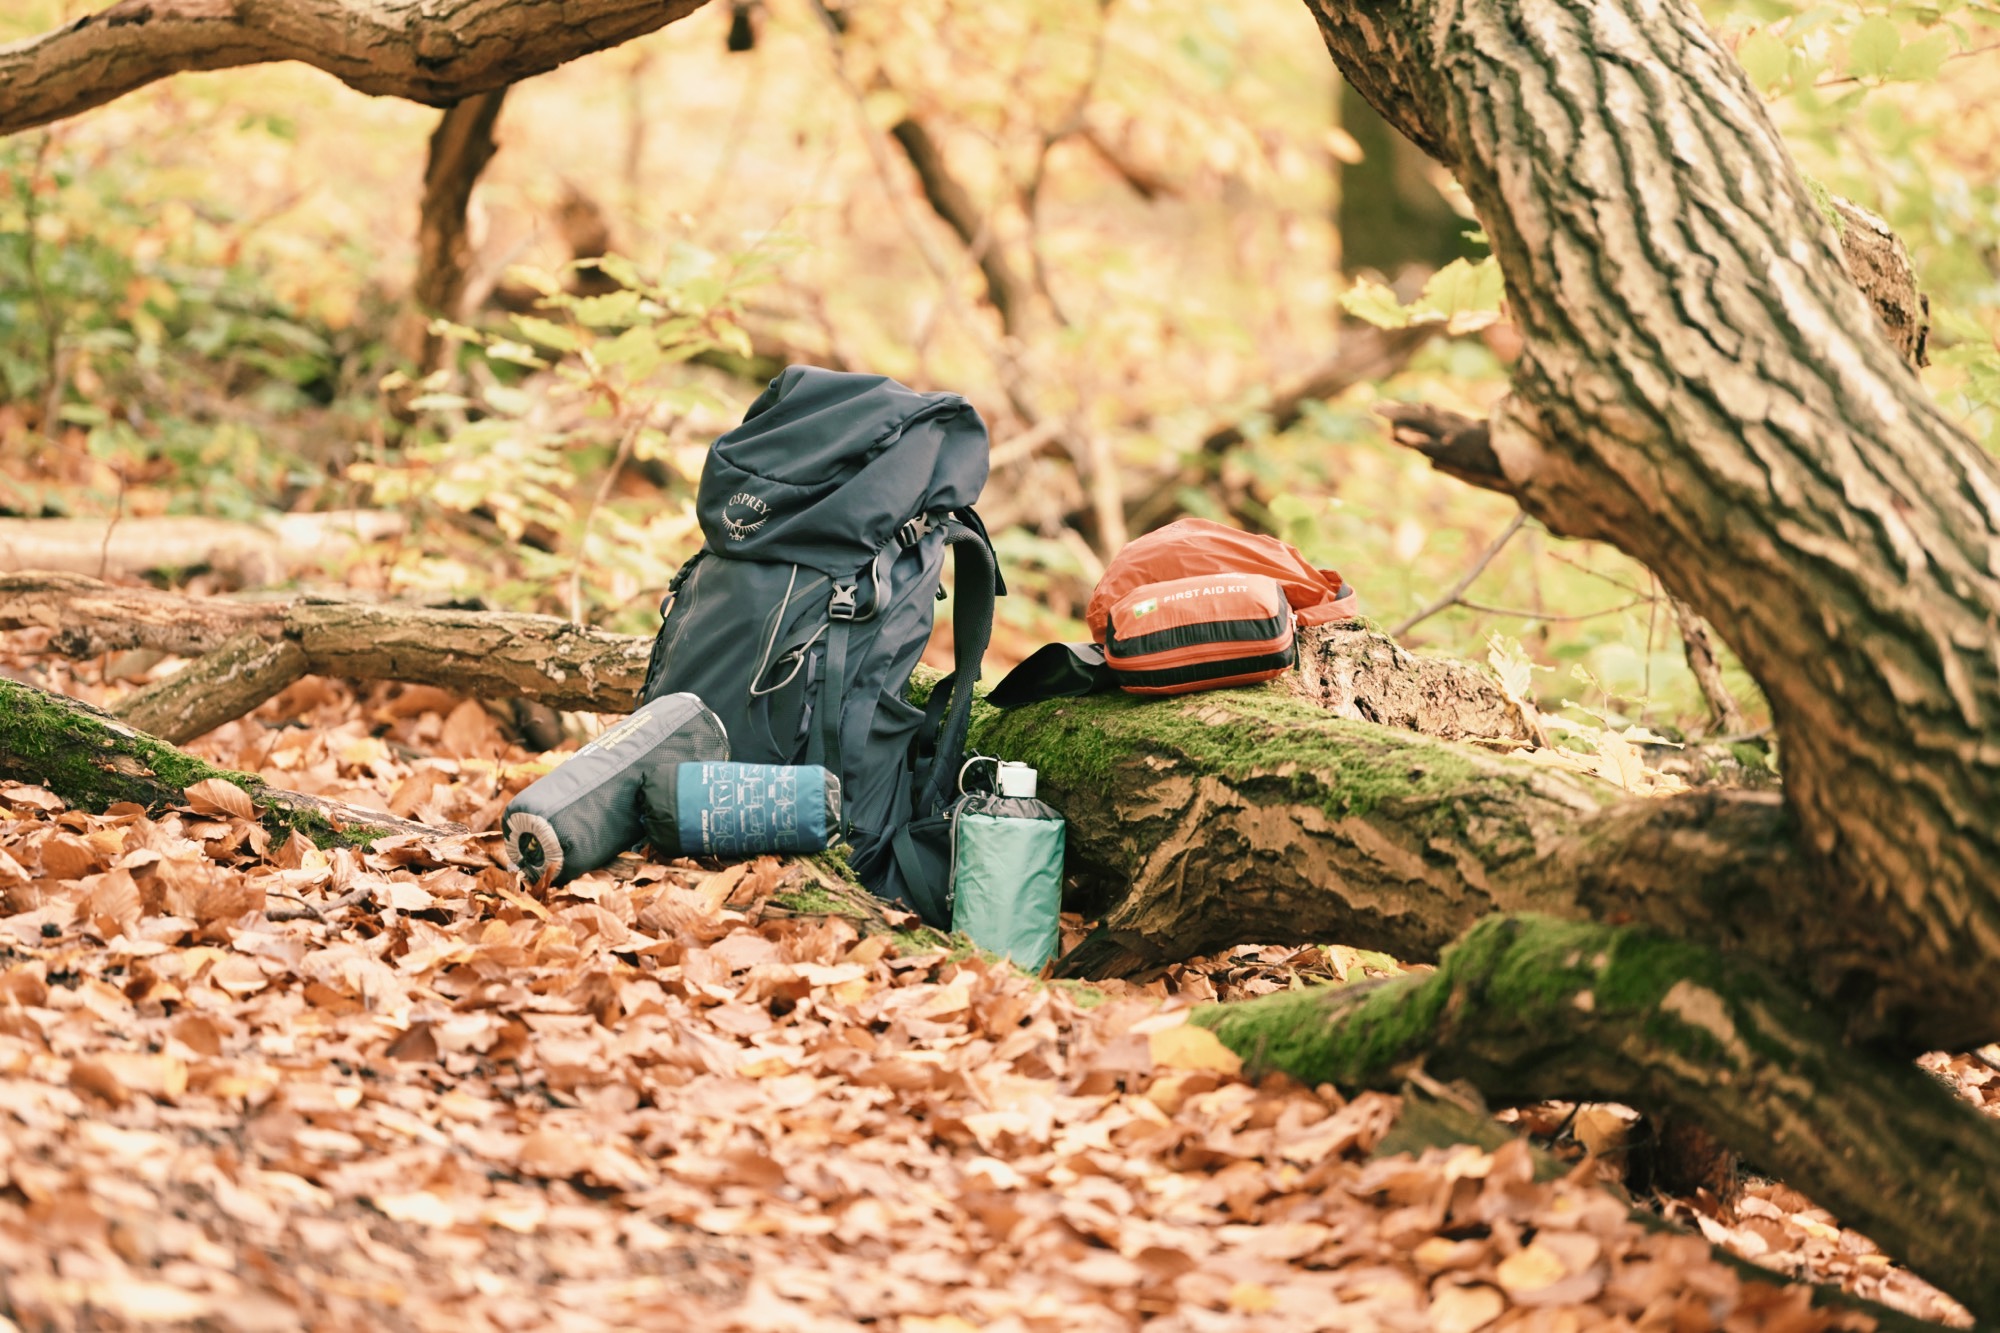
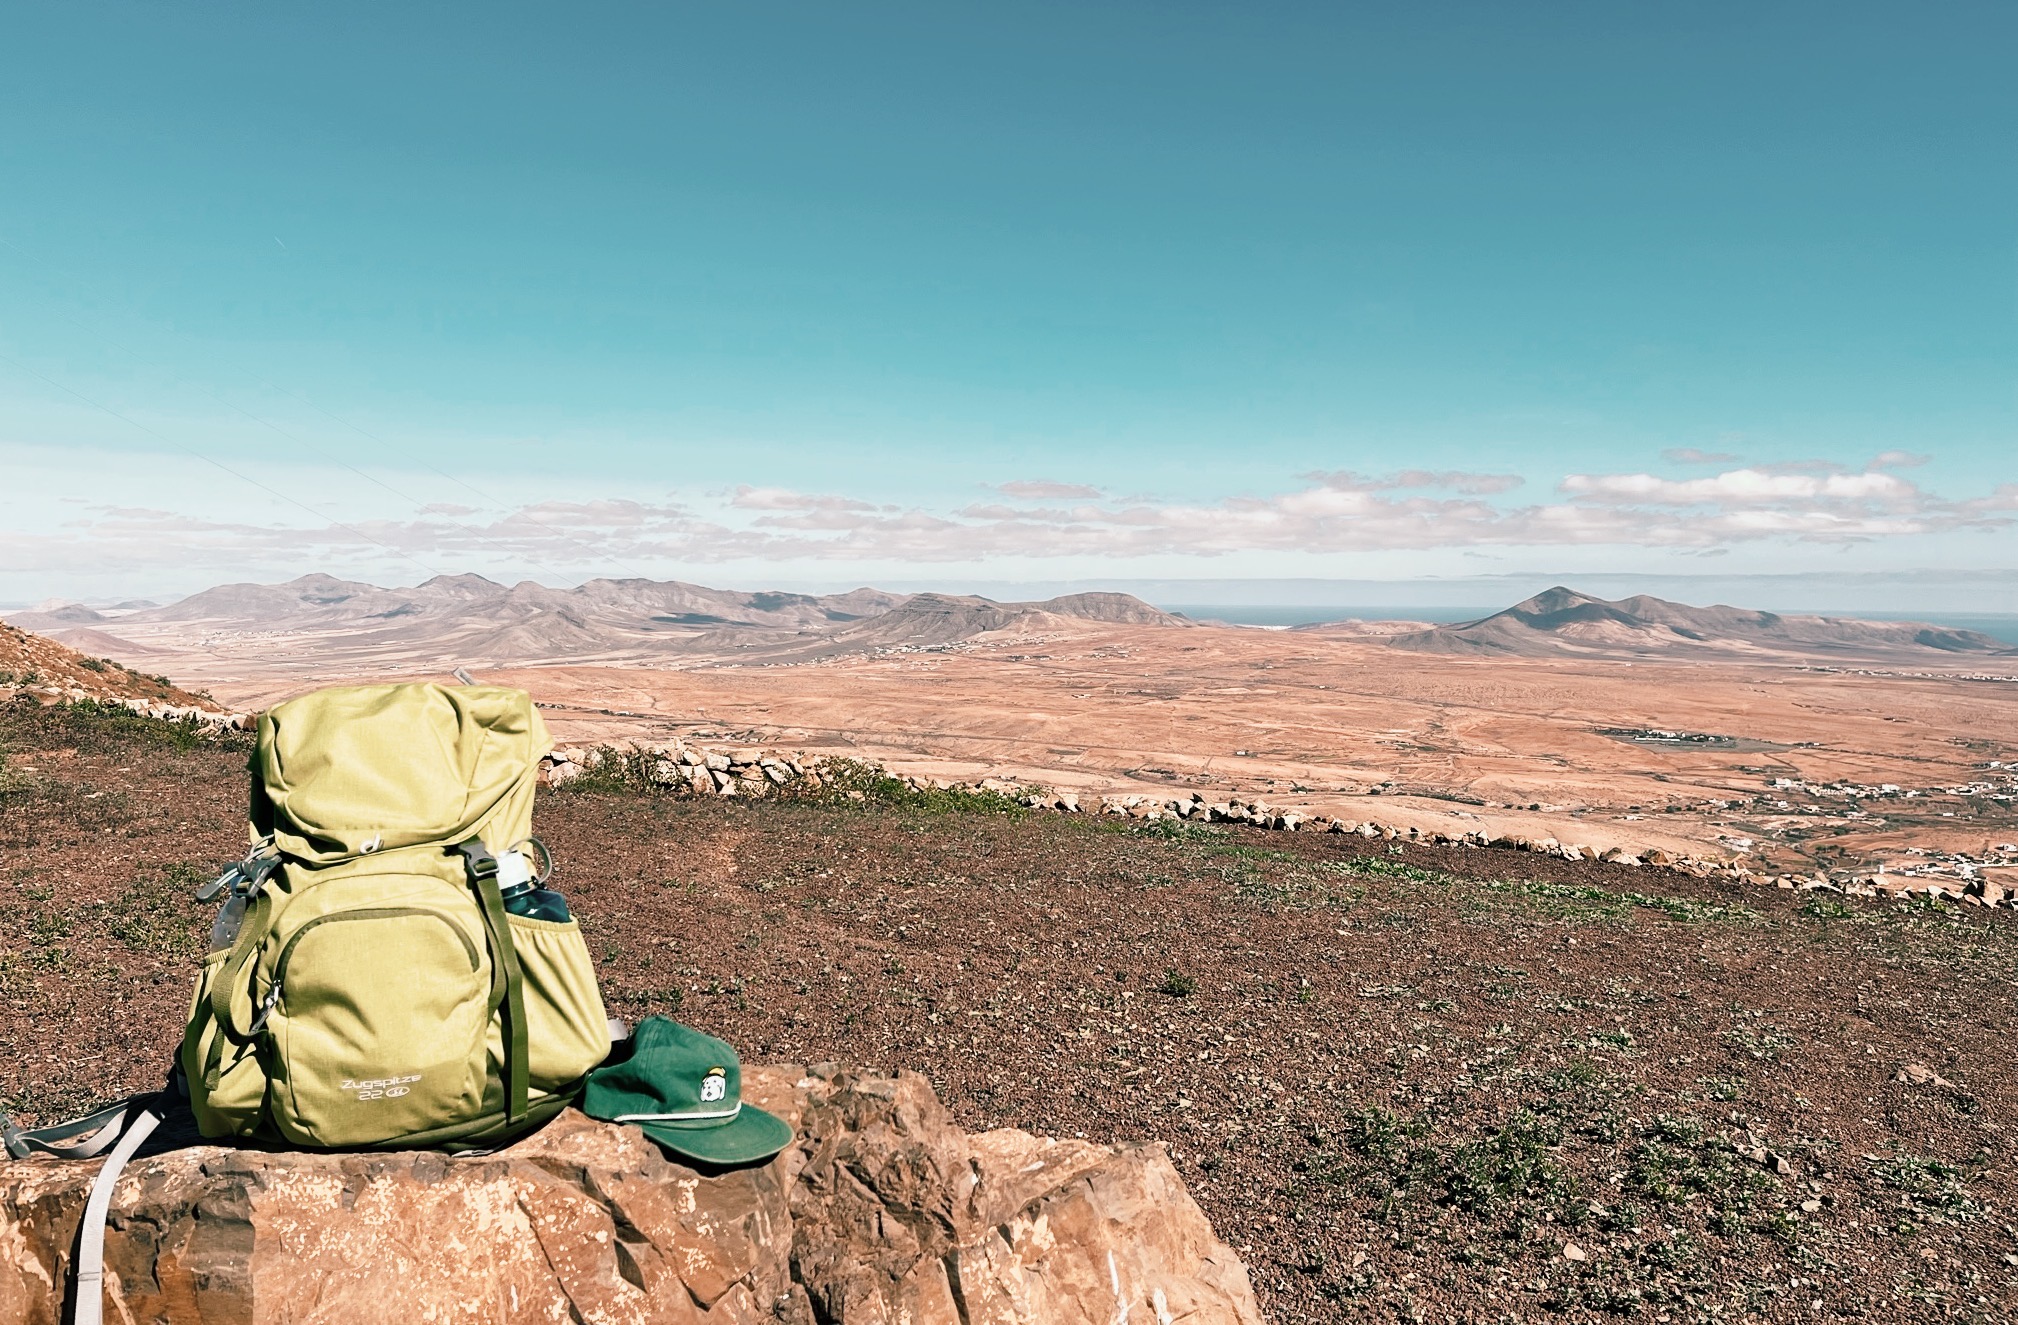
Backpack
- When in storage, make sure all the buckles, snaps, and clips on your backpack are closed. So that if someone accidentally steps on them, they don’t break as easily. The same goes for closing all zippers, preventing them from de-forming.
- If you don’t own a lot of backpacking gear, you can just use your backpack as a storage location for all of it. Next time your head out, you can just grab it and head out, yay!
Small bonus hack: to protect your gear from dampness collect those little silica packets that come with almost everything you order online and throw them into your boxes (you can also buy them, but if they come for free, why not save a couple of bucks you can invest into more fun gear?).
3. Go on your next adventure
Aaaand you’re ready for your next adventure! Just grab your gear (because you know exactly where it is now) and head out.
Oh, just one more thing. Make sure to note which items you take out from where and mark that on your list, because
- That makes it easier to put it back once you return.
- It will help you notice if you lost something
- It feels good to cross those items off the list once you return them to their proper place
If you’re new to hiking or are planning a longer hiking adventure, make sure to also check out my ultimate packing list for a long-distance hike like the Alpe Adria Trail. There are many tips and tricks on backpacking gear in there as well.